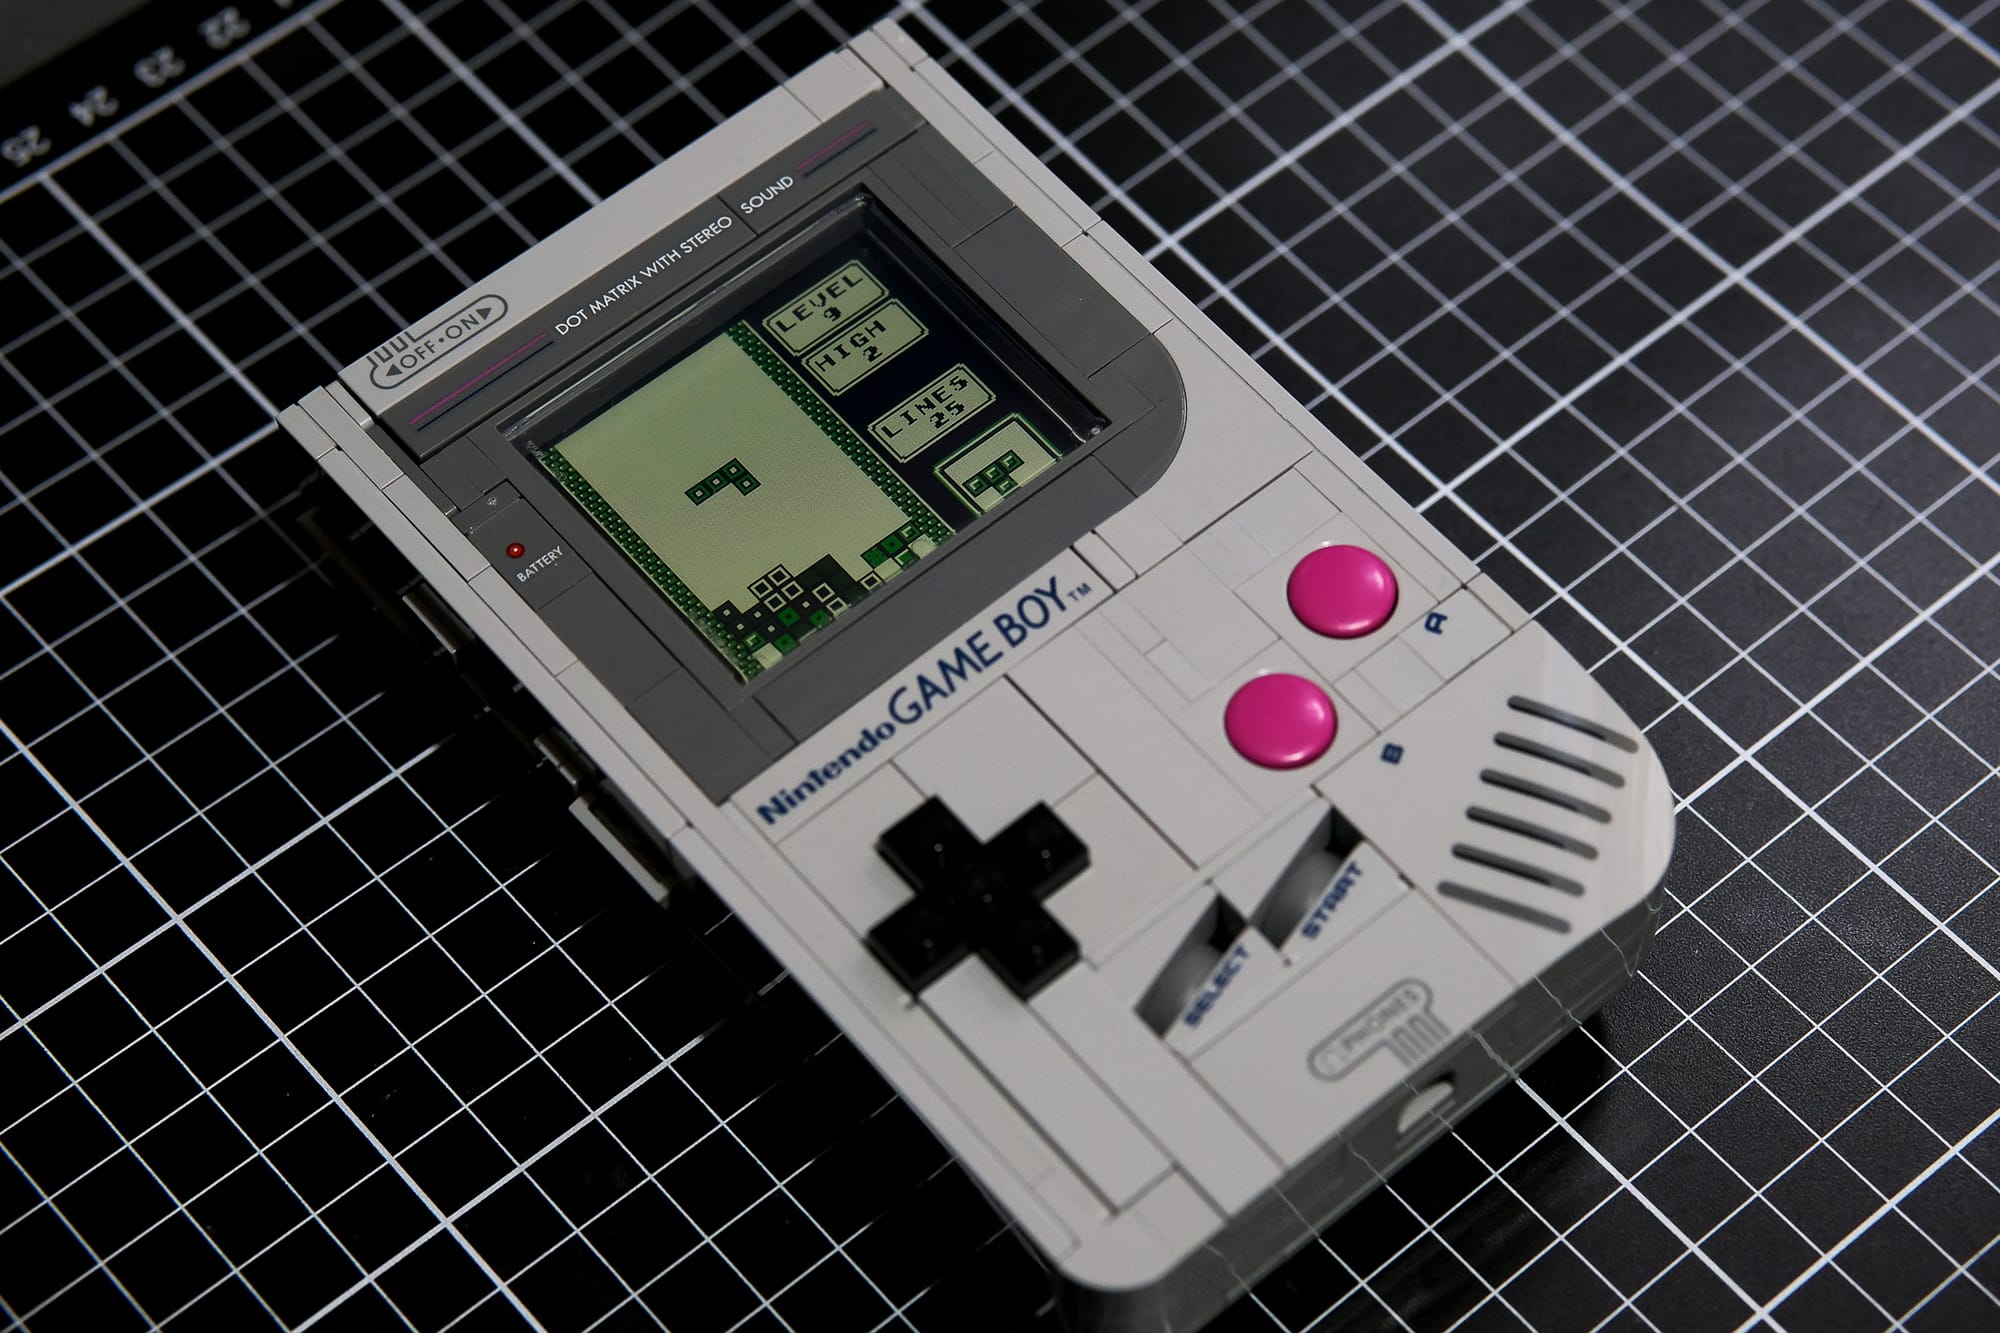
I turned the Lego Game Boy into a working Game Boy part. 1
EDIT: I made a channel on my discord server if you would like to keep up to date with the Lego Game Boy (which I will be calling brick boy for obvious reasons), kit
https://discord.gg/G4FbdEkzKM
Through my documentation of Game Boy boards, I have drawn up schematics of each device. I know them pretty well. Check out my board scan wiki https://wiki.nataliethenerd.com/
I jokingly made this tweet when the kit was announced, but decided to actually do it.
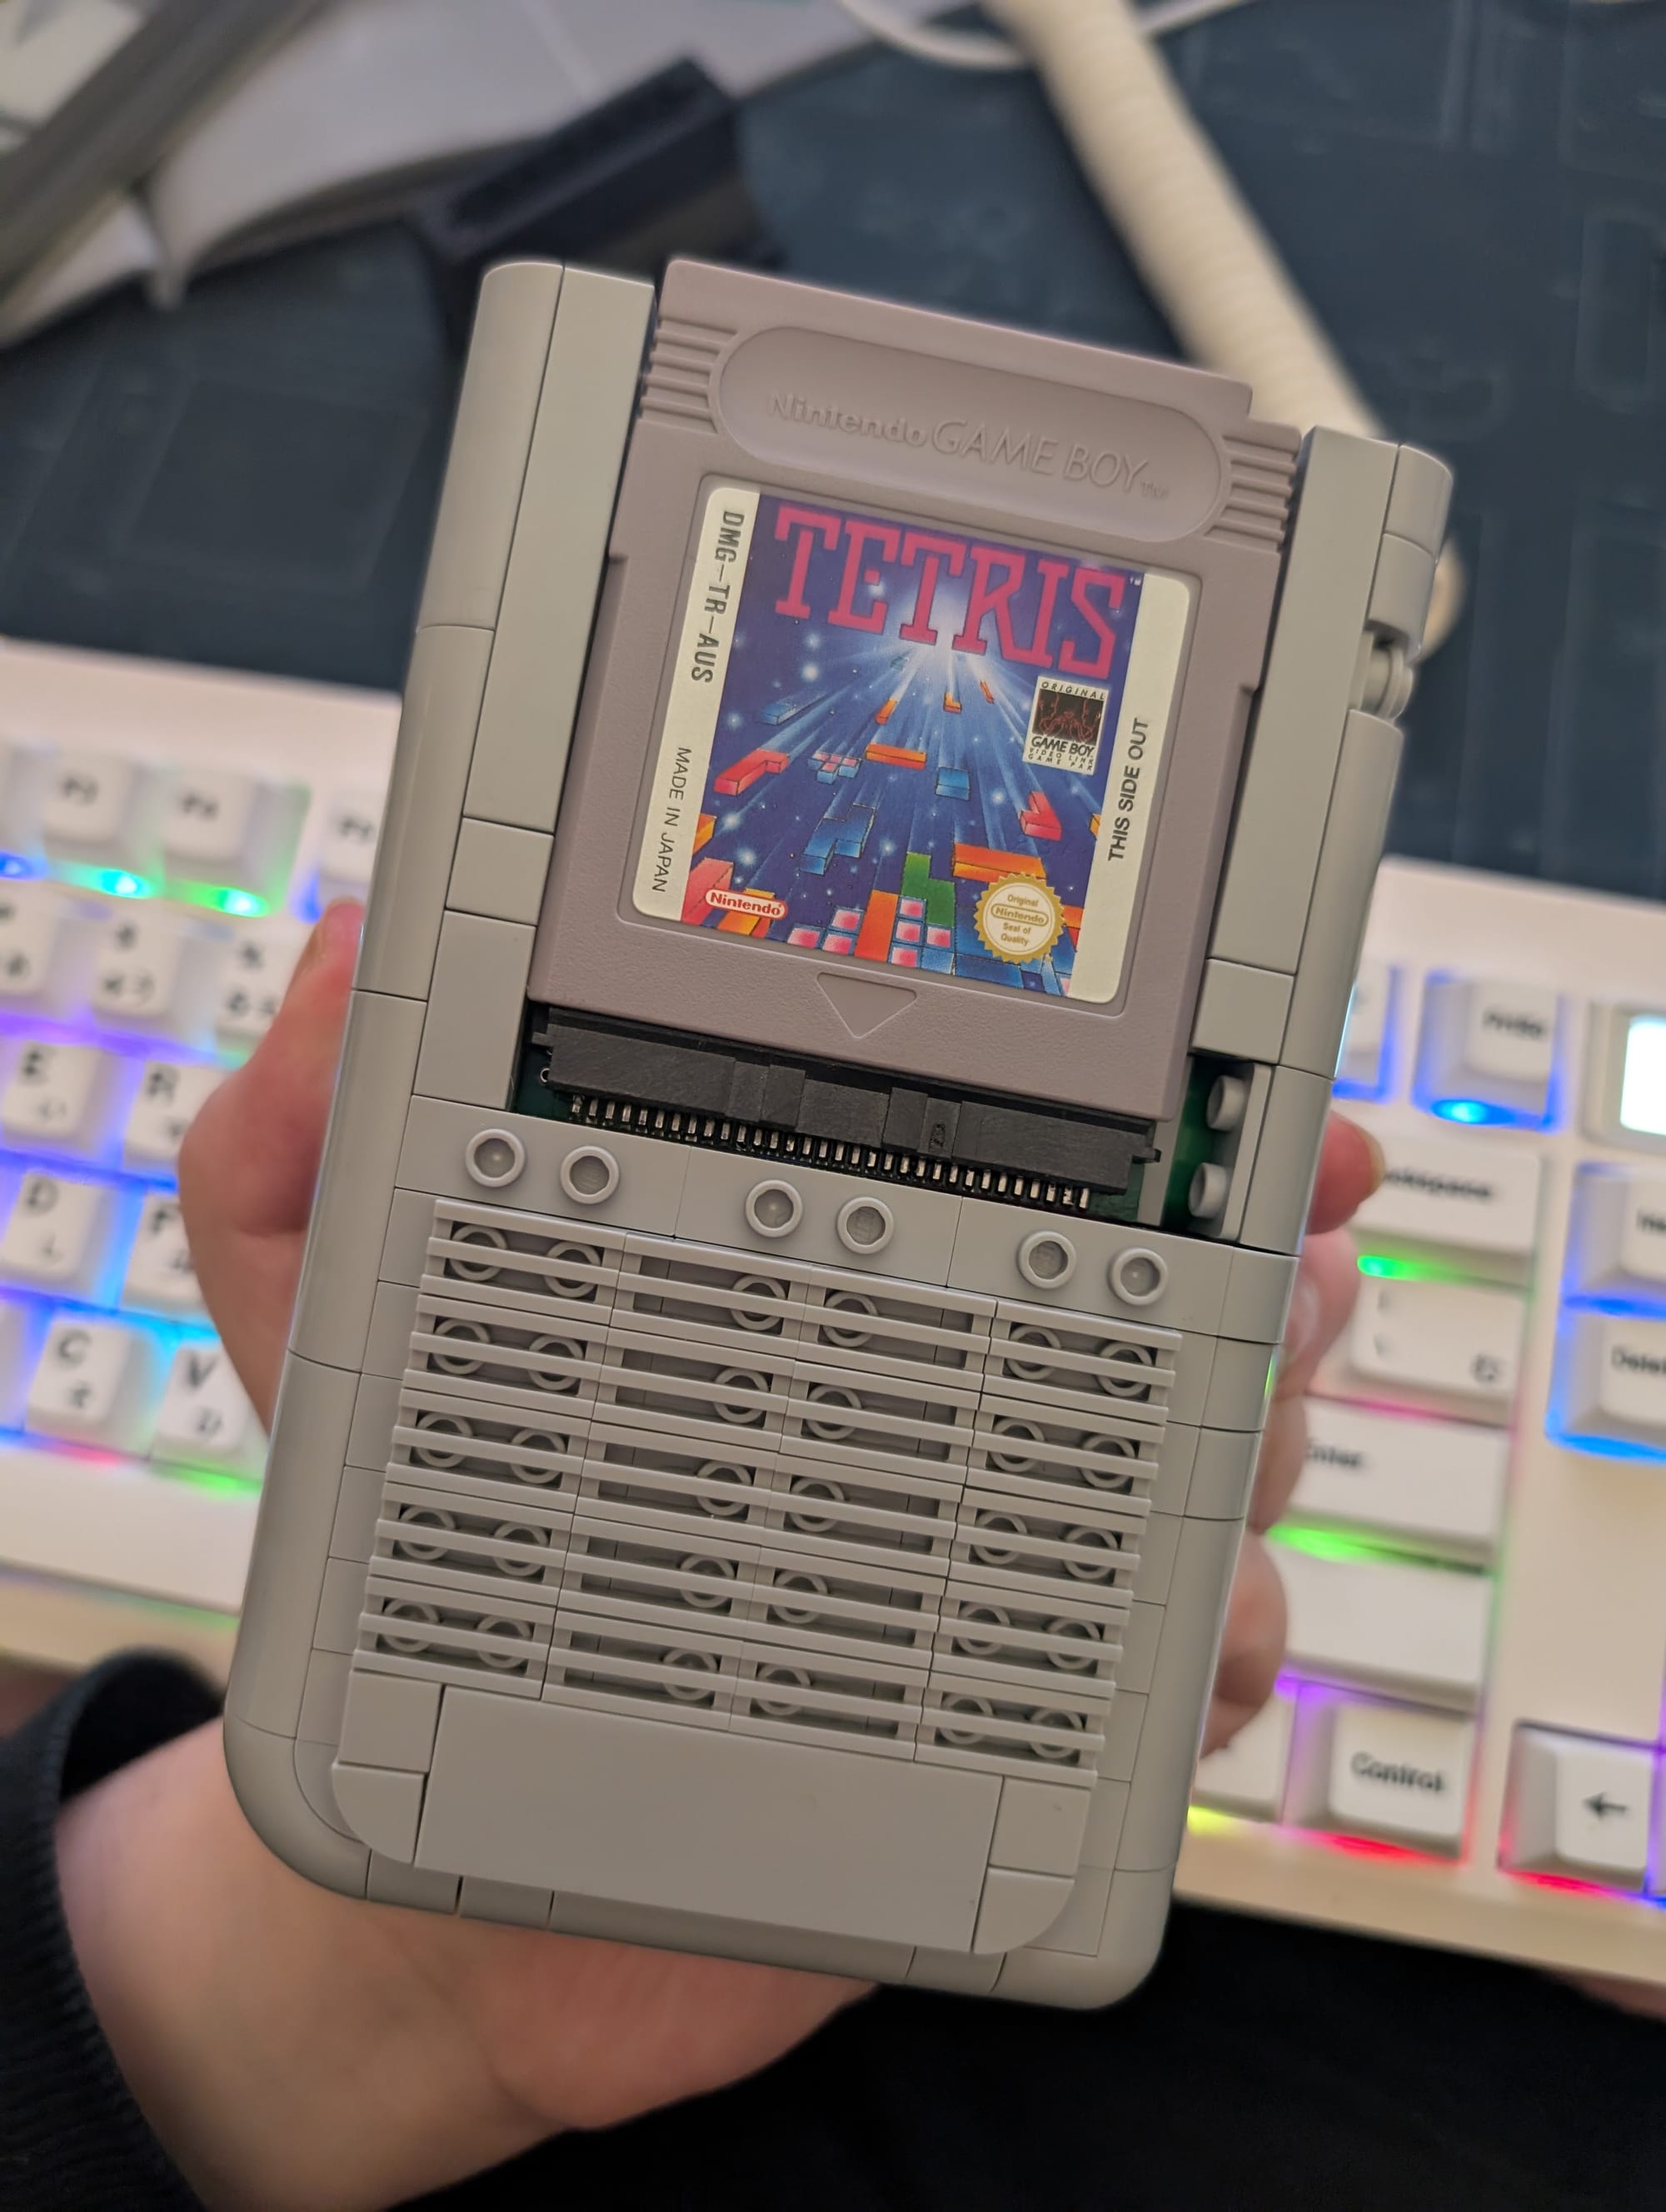
that's my opening pic.twitter.com/hJotri3aQP
— natalie (@natalie_thenerd) July 24, 2025
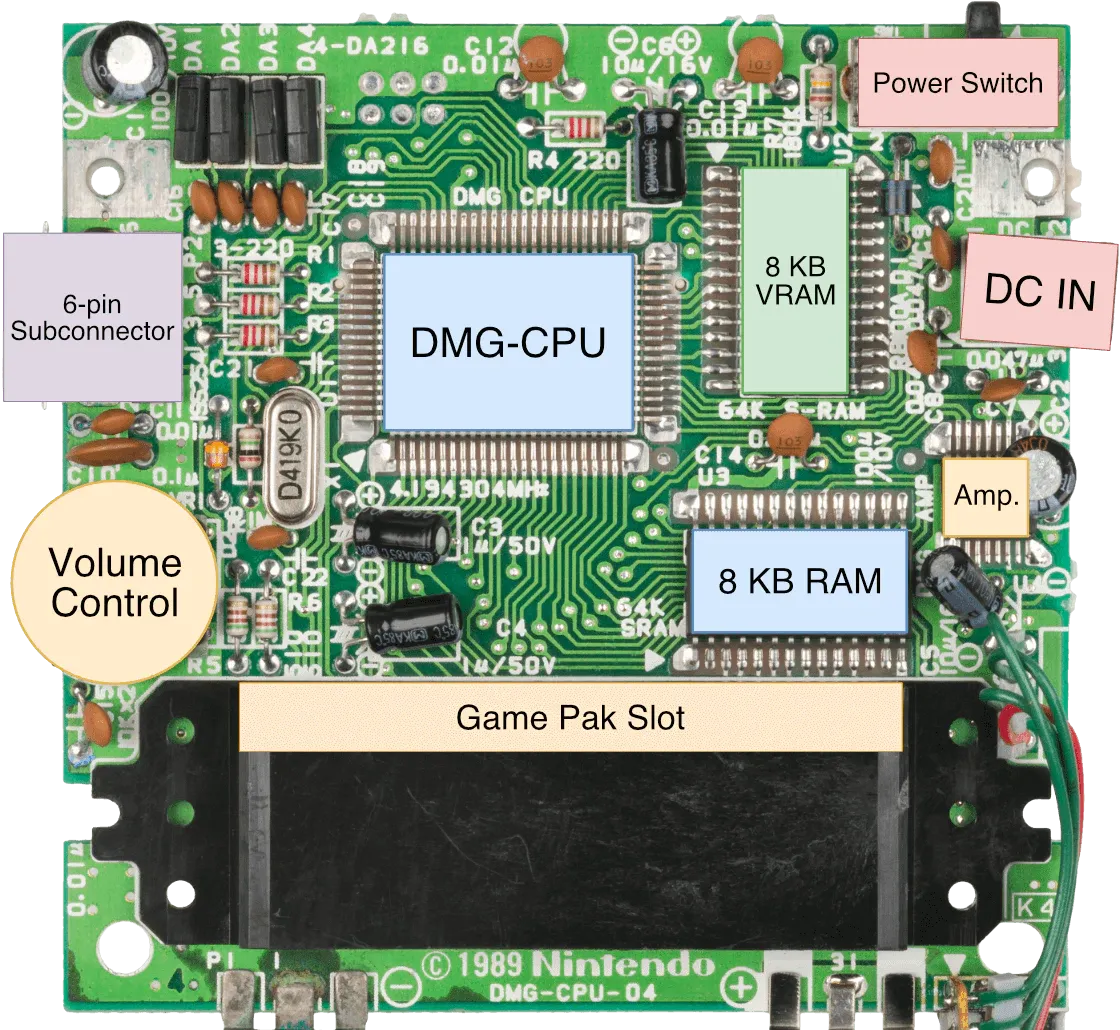
I know from experience of routing Game Boy CPU PCBs that there isn't much to it. There's the RAM, CPU, some decoupling capacitors and power regulation.
Note: I went with the MGB (Pocket) CPU rather than DMG for a couple of reasons.
- They are pretty much the same
- I have more of them
- They are cheaper and easier to get. This opens up the project to more people
The DMG CPU has external VRAM, the MGB CPU has internal VRAM and in a very space conscious build that was the biggest factor.
Pre Planning
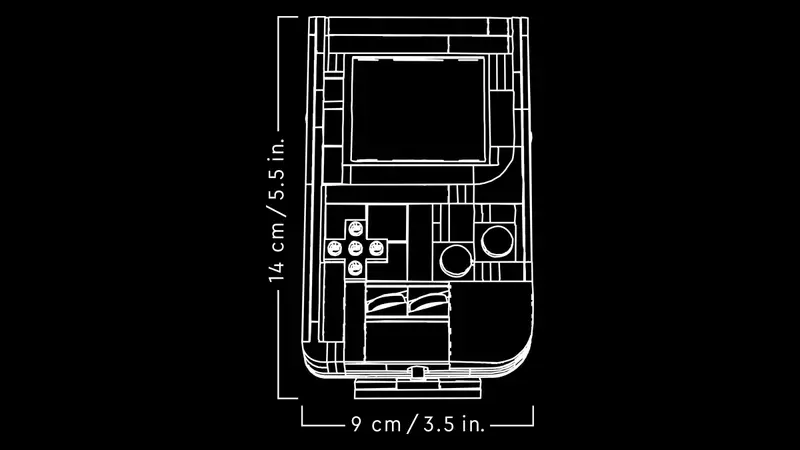
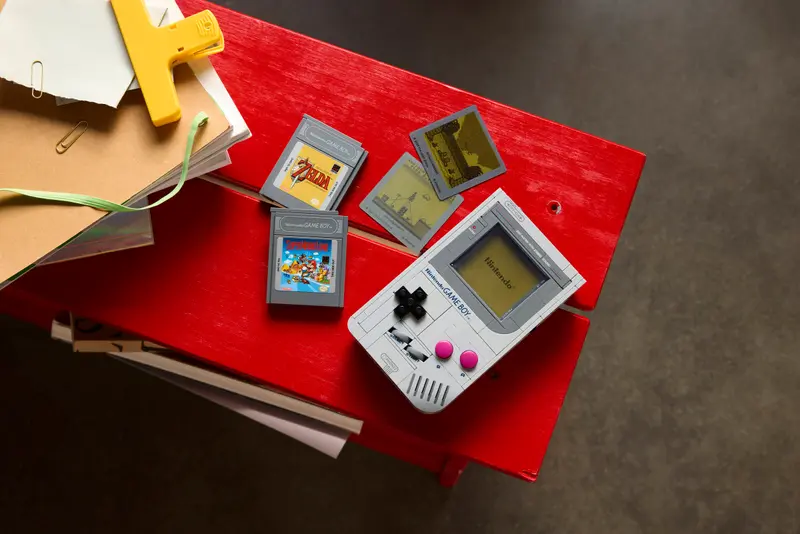
I only had the press pictures to work off. I used the dimensions to scale the image on my PC and from that I got measurements for the screen inserts; since that's where I plan to put the Game Boy.
I incorporated the power circuit I use for my Safer Charger boards, changed the power switch to a soft latching power button, added pin outs for the button matrix and audio.
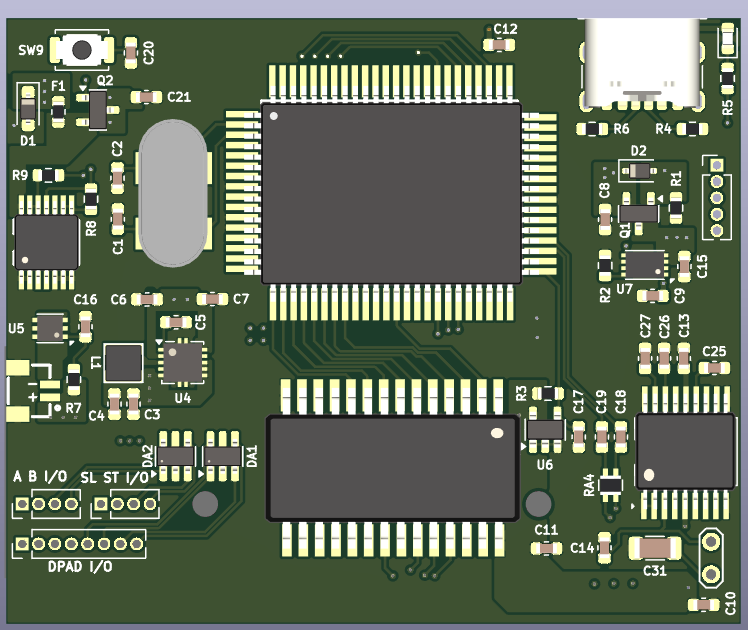
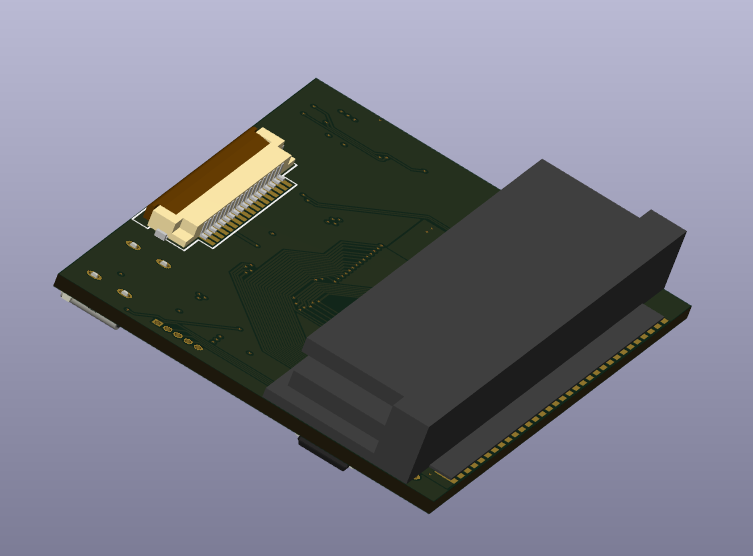
KiCad 3D renders of the PCB
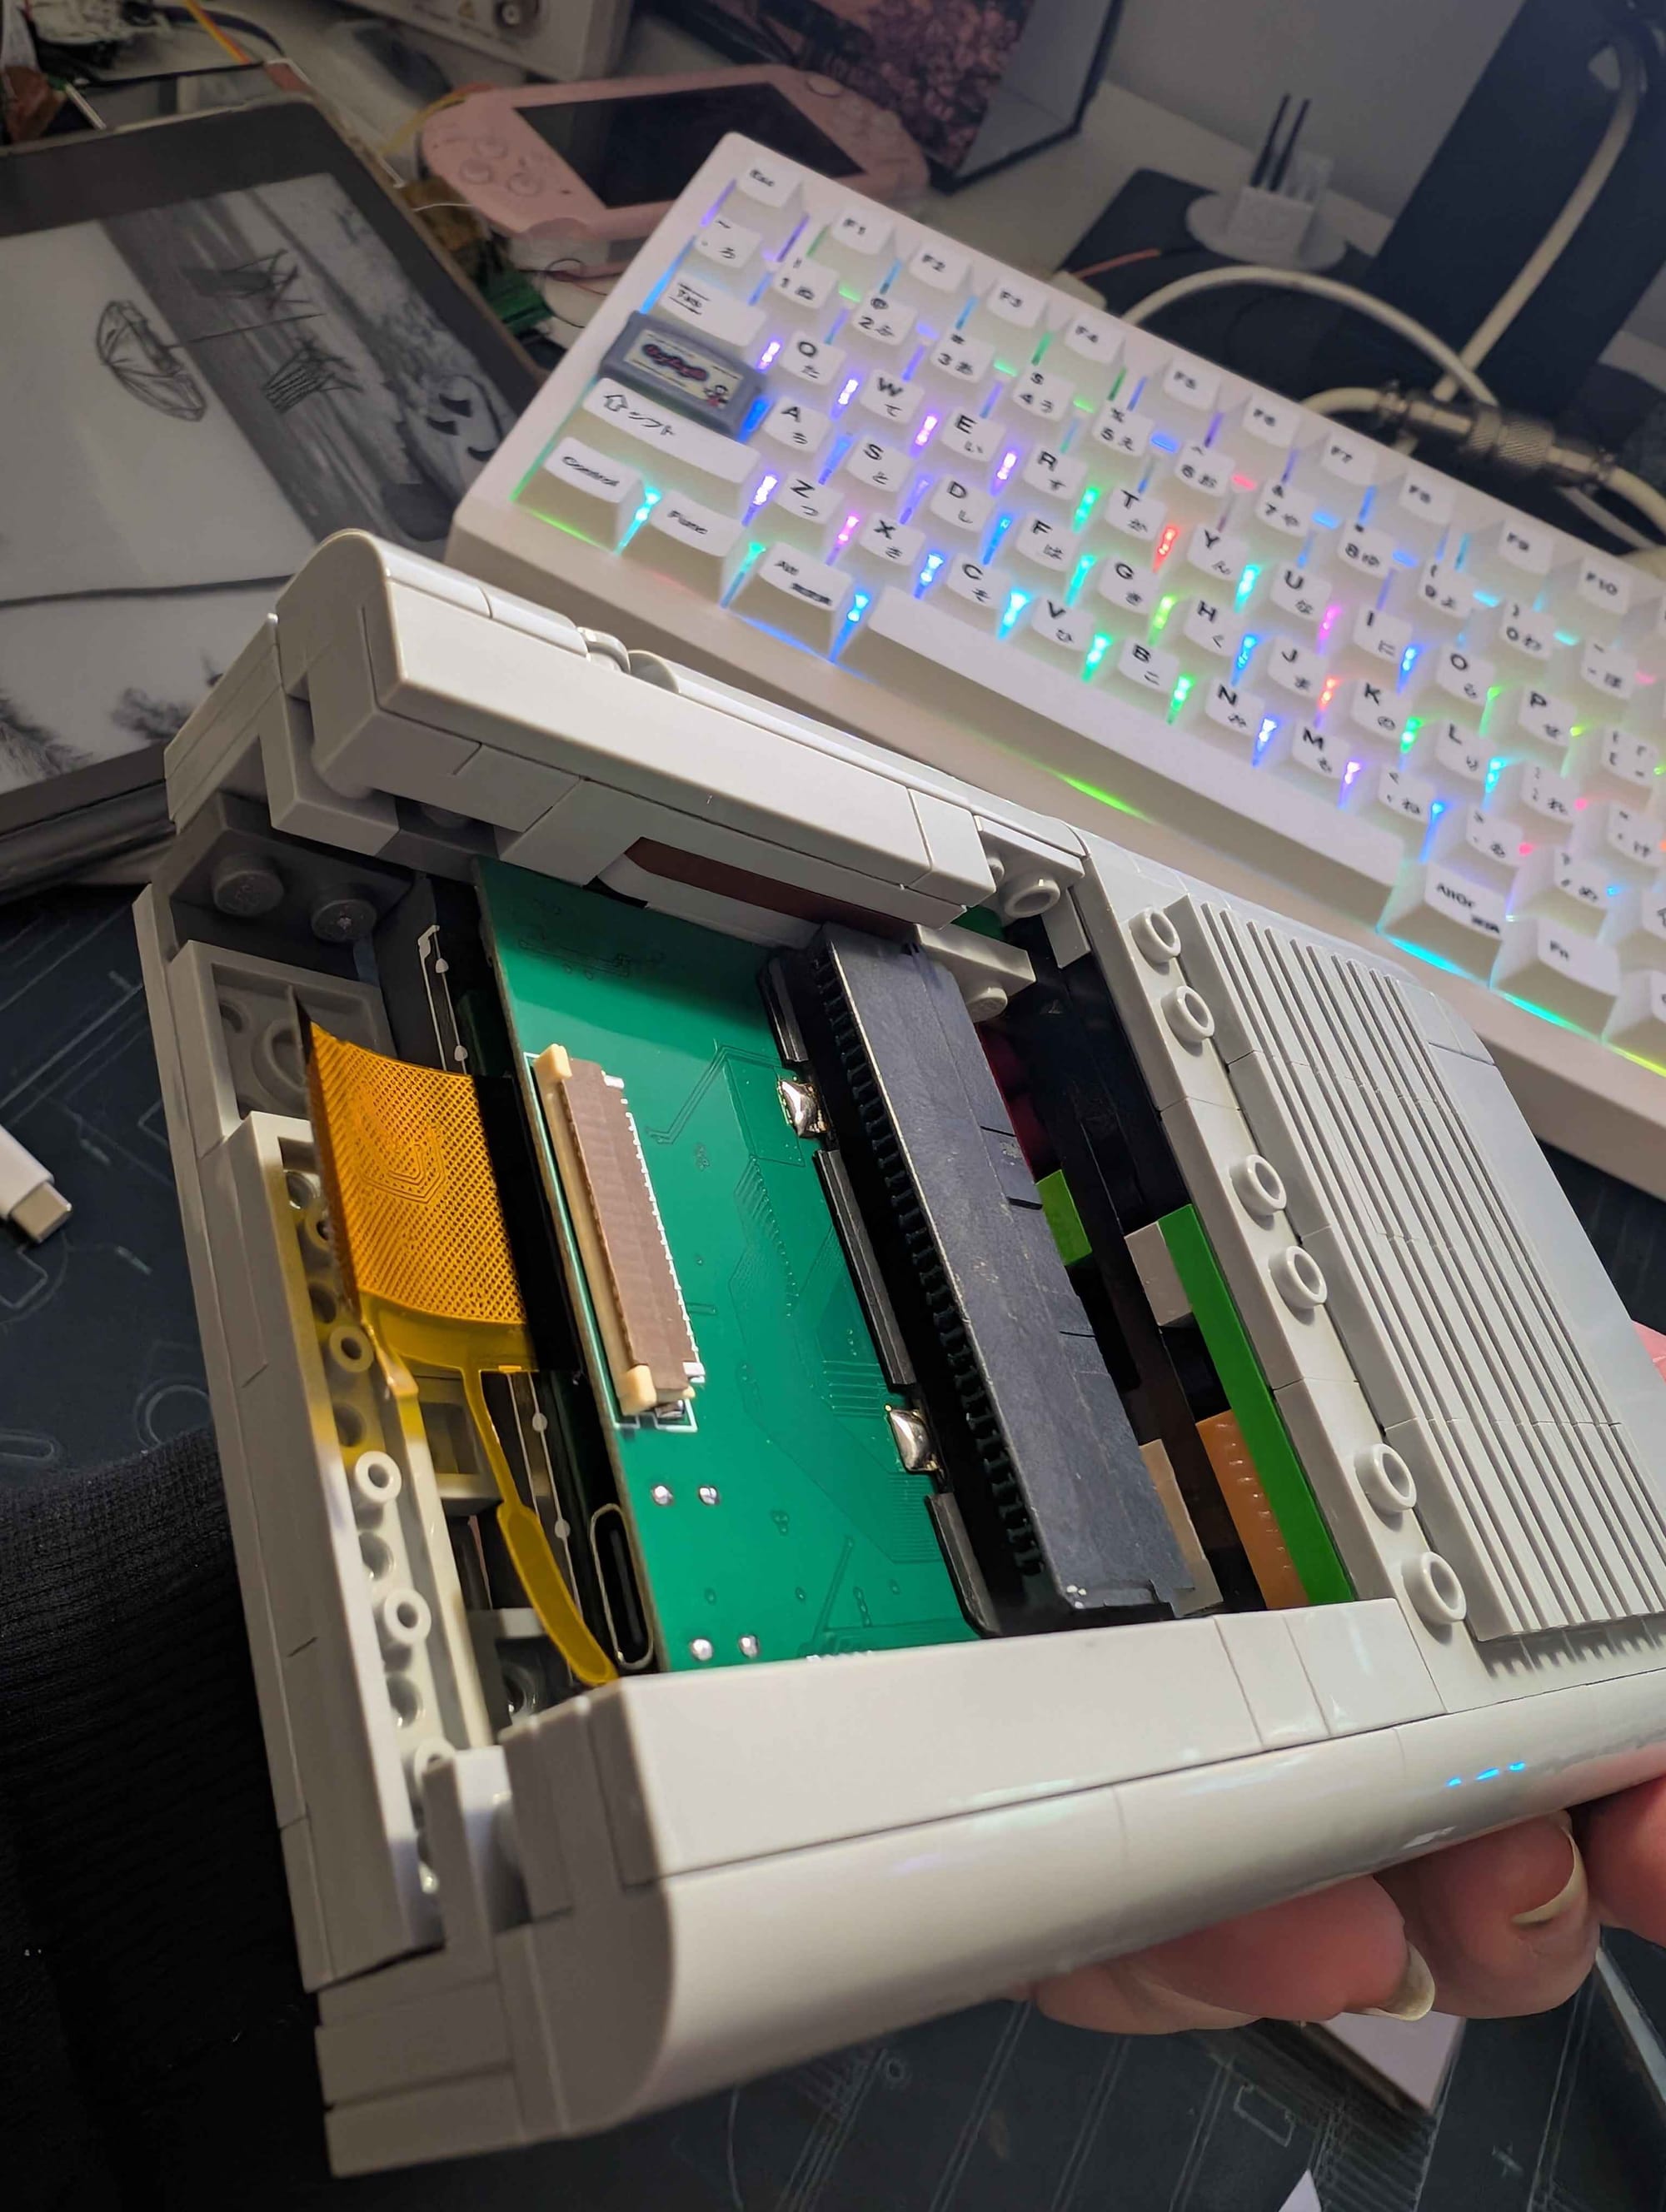
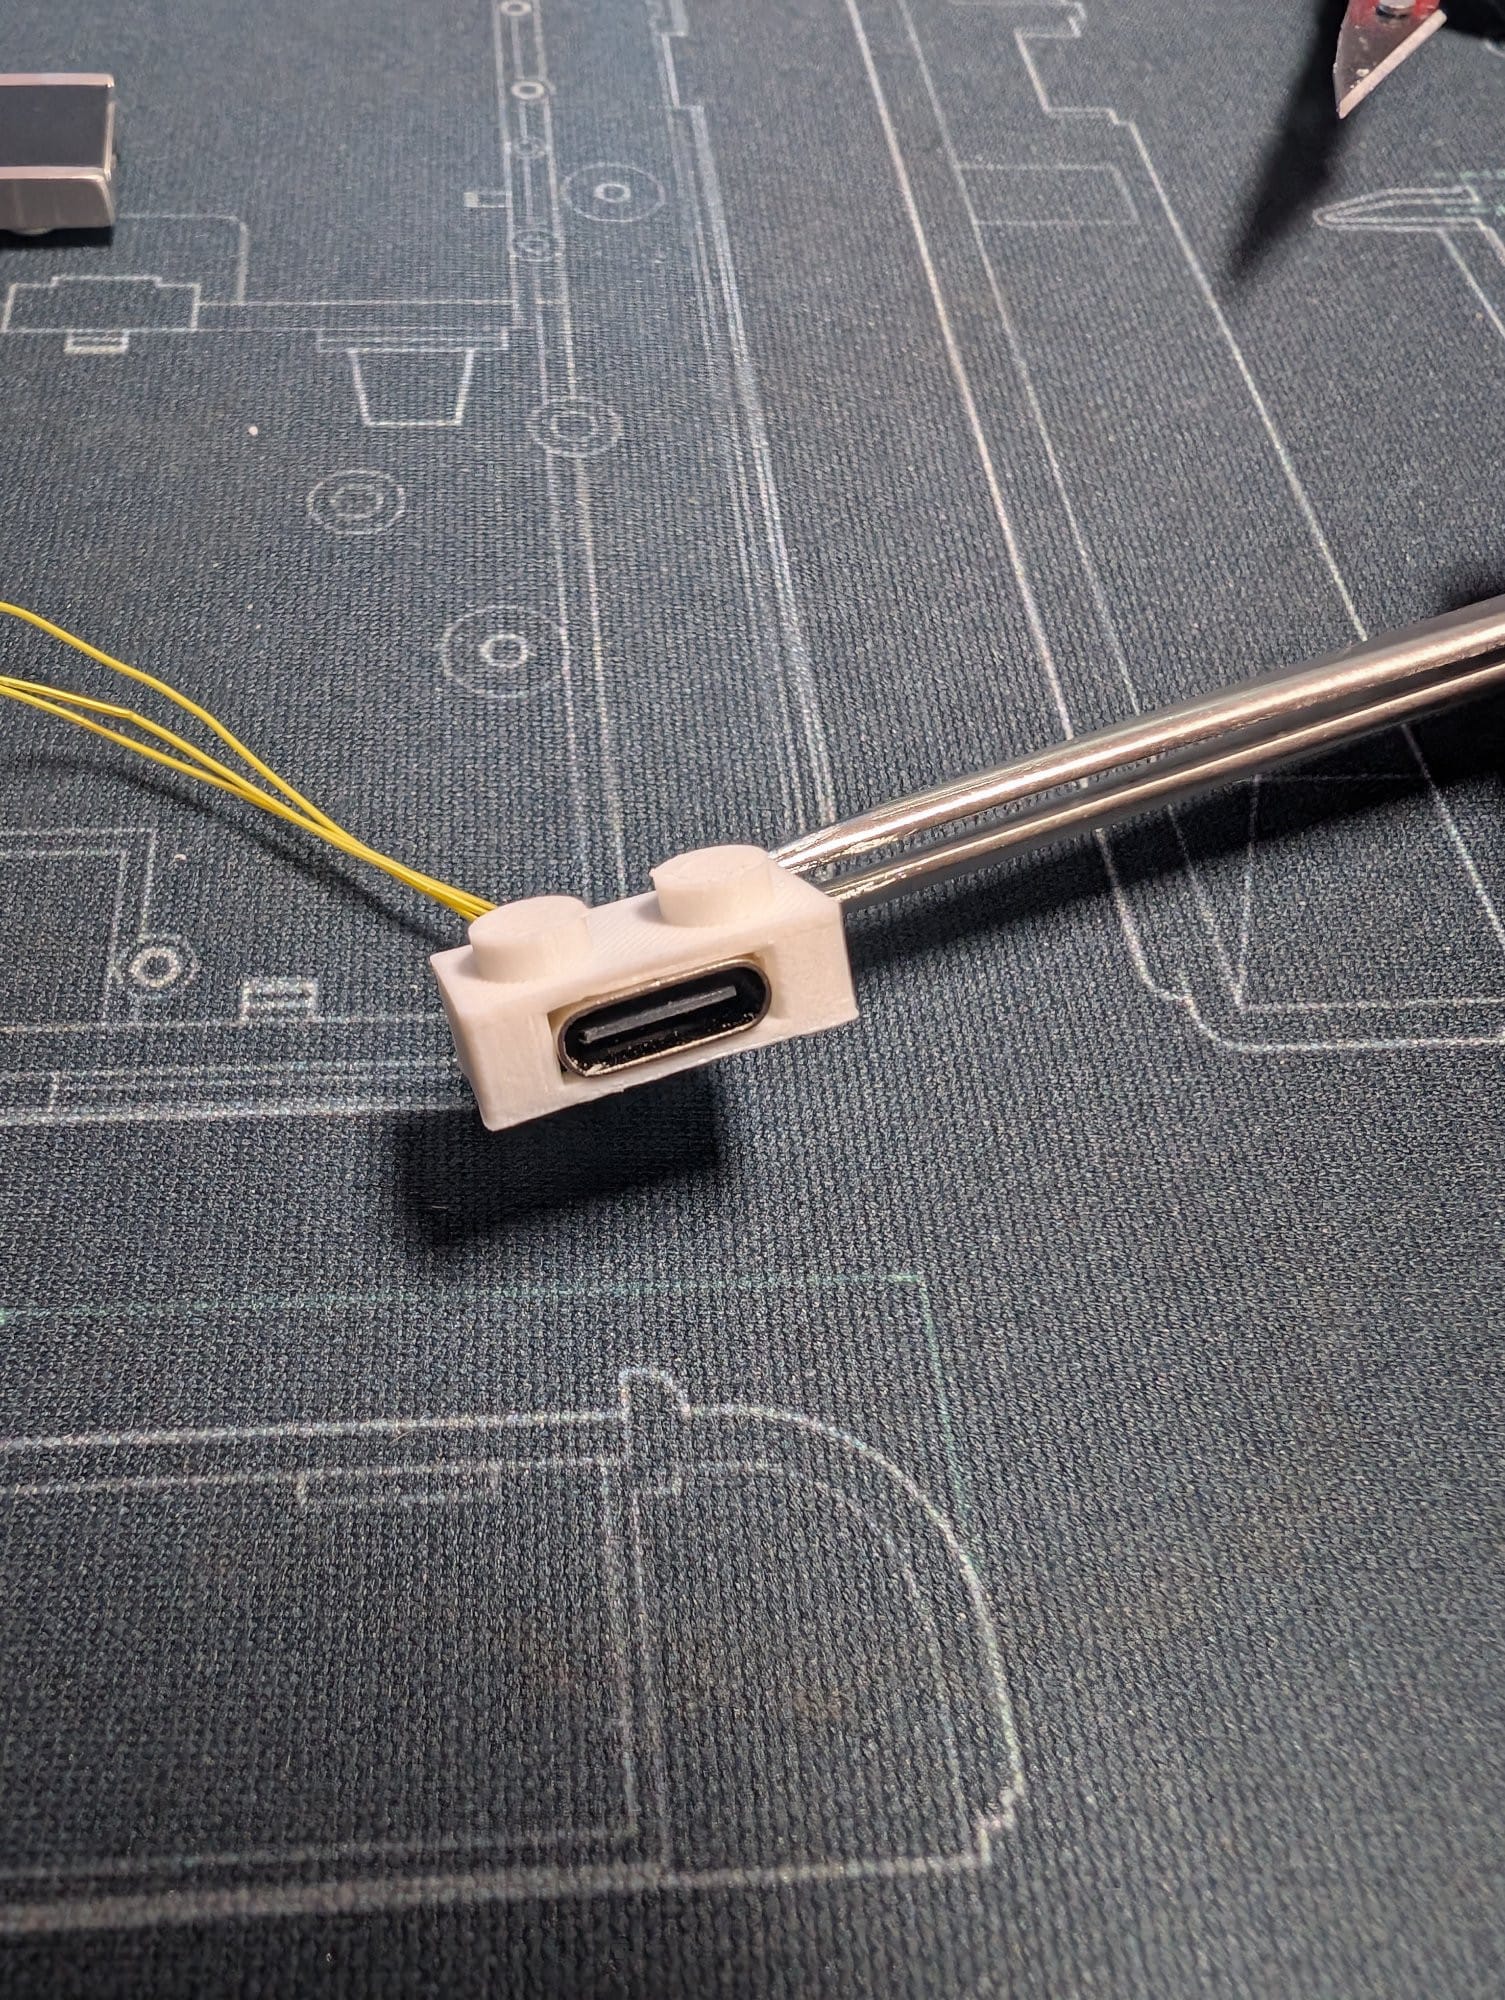
I didn't really know what the buttons on the Lego would be like, but the fact that they could be pressed was enough for me to know I could implement them. At the moment I have them wired up to custom 3D printed *toy brick* parts. Same with the USB C
Clicky buttons!
I am currently working on refining the board now I have the Lego build in my hands. This project will be released in full once I am finished with it - so stay tuned!
Comments