Build A Boy update #1: WIP and tech specs
First of all, I just want to say thank you for all the support and interest in the project! I initially made it to challenge myself and share with my friends in the Game Boy community - but getting others interested in the Game Boy scene is something I am happy to see!
Some things I want to clear up:
At the moment I am only working on using the Game Boy Pocket CPU. Once I have all the fundamentals built up, it will be easy to just throw in a Colour CPU.
I am working on this project solo. I don't want to take anyone's money for preorders until I have a version I am at least 80% done with. I know this is frustrating but I don't feel comfortable taking money unless people know what they are getting.
I will also release the build in some form, I haven't decided yet. It might be releasing the gerbers or having the boards available at a board fab etc.
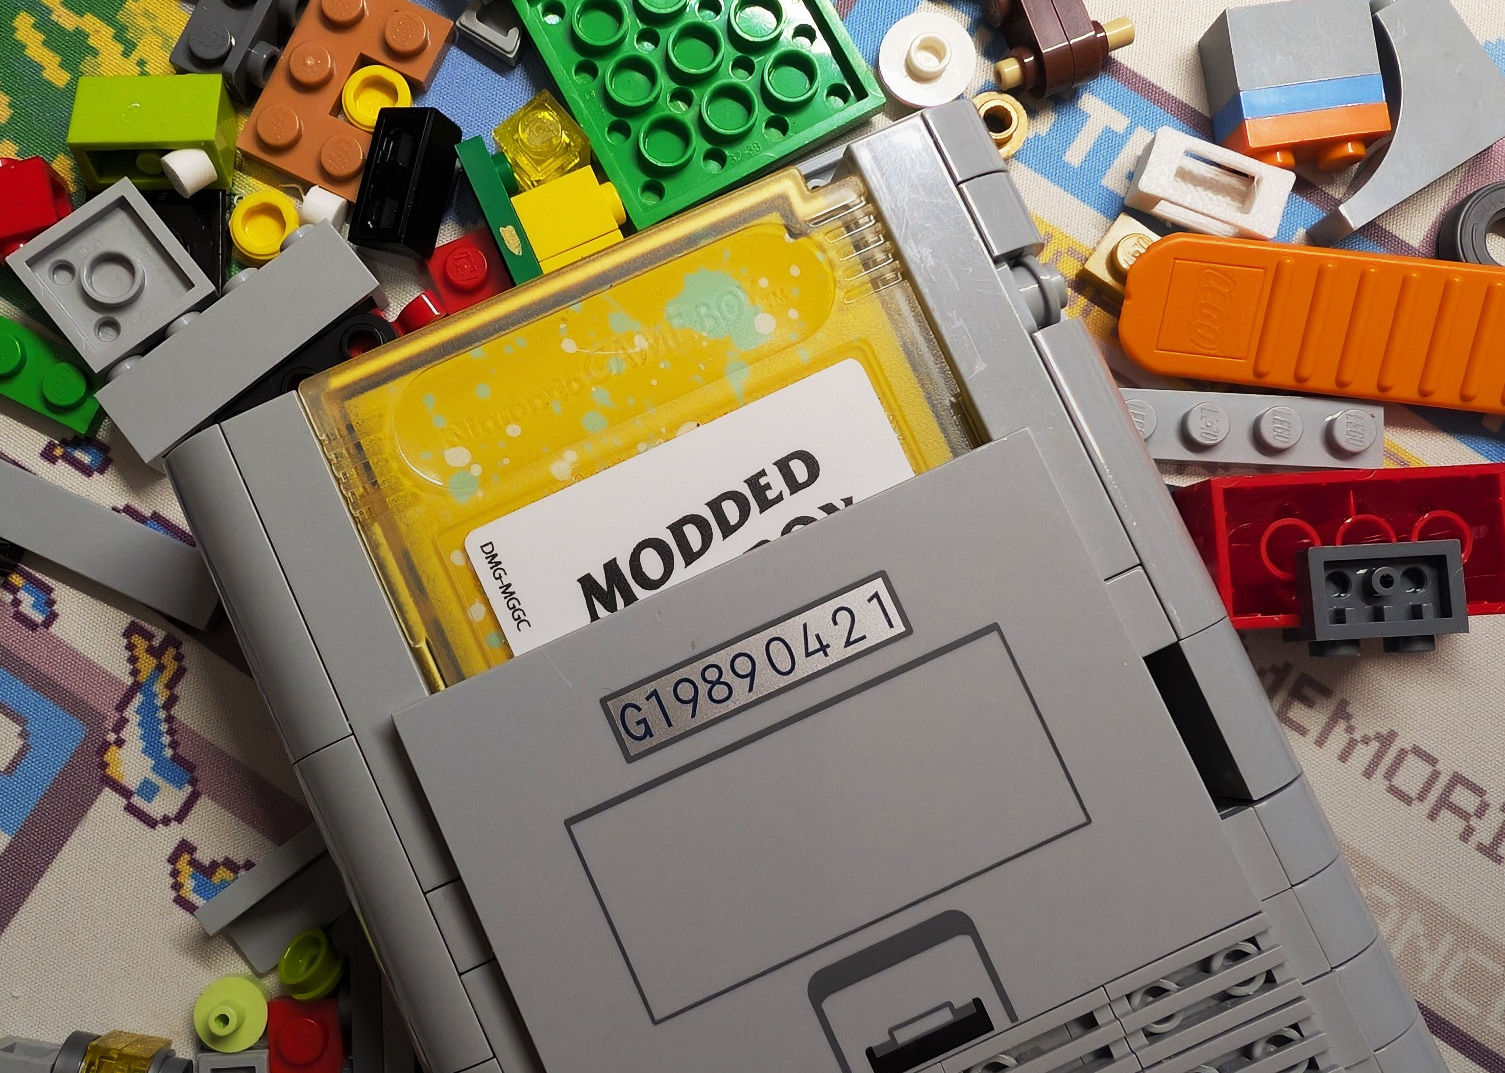
It's important for me to reinstate that at the end of the day it is Lego. I wouldn't suggest this being an everyday carry item. There is no gluing of bricks, no cutting of bricks... Just some illegal Lego "snot" techniques.
I have been working hard on the electronics and software.
The screen:
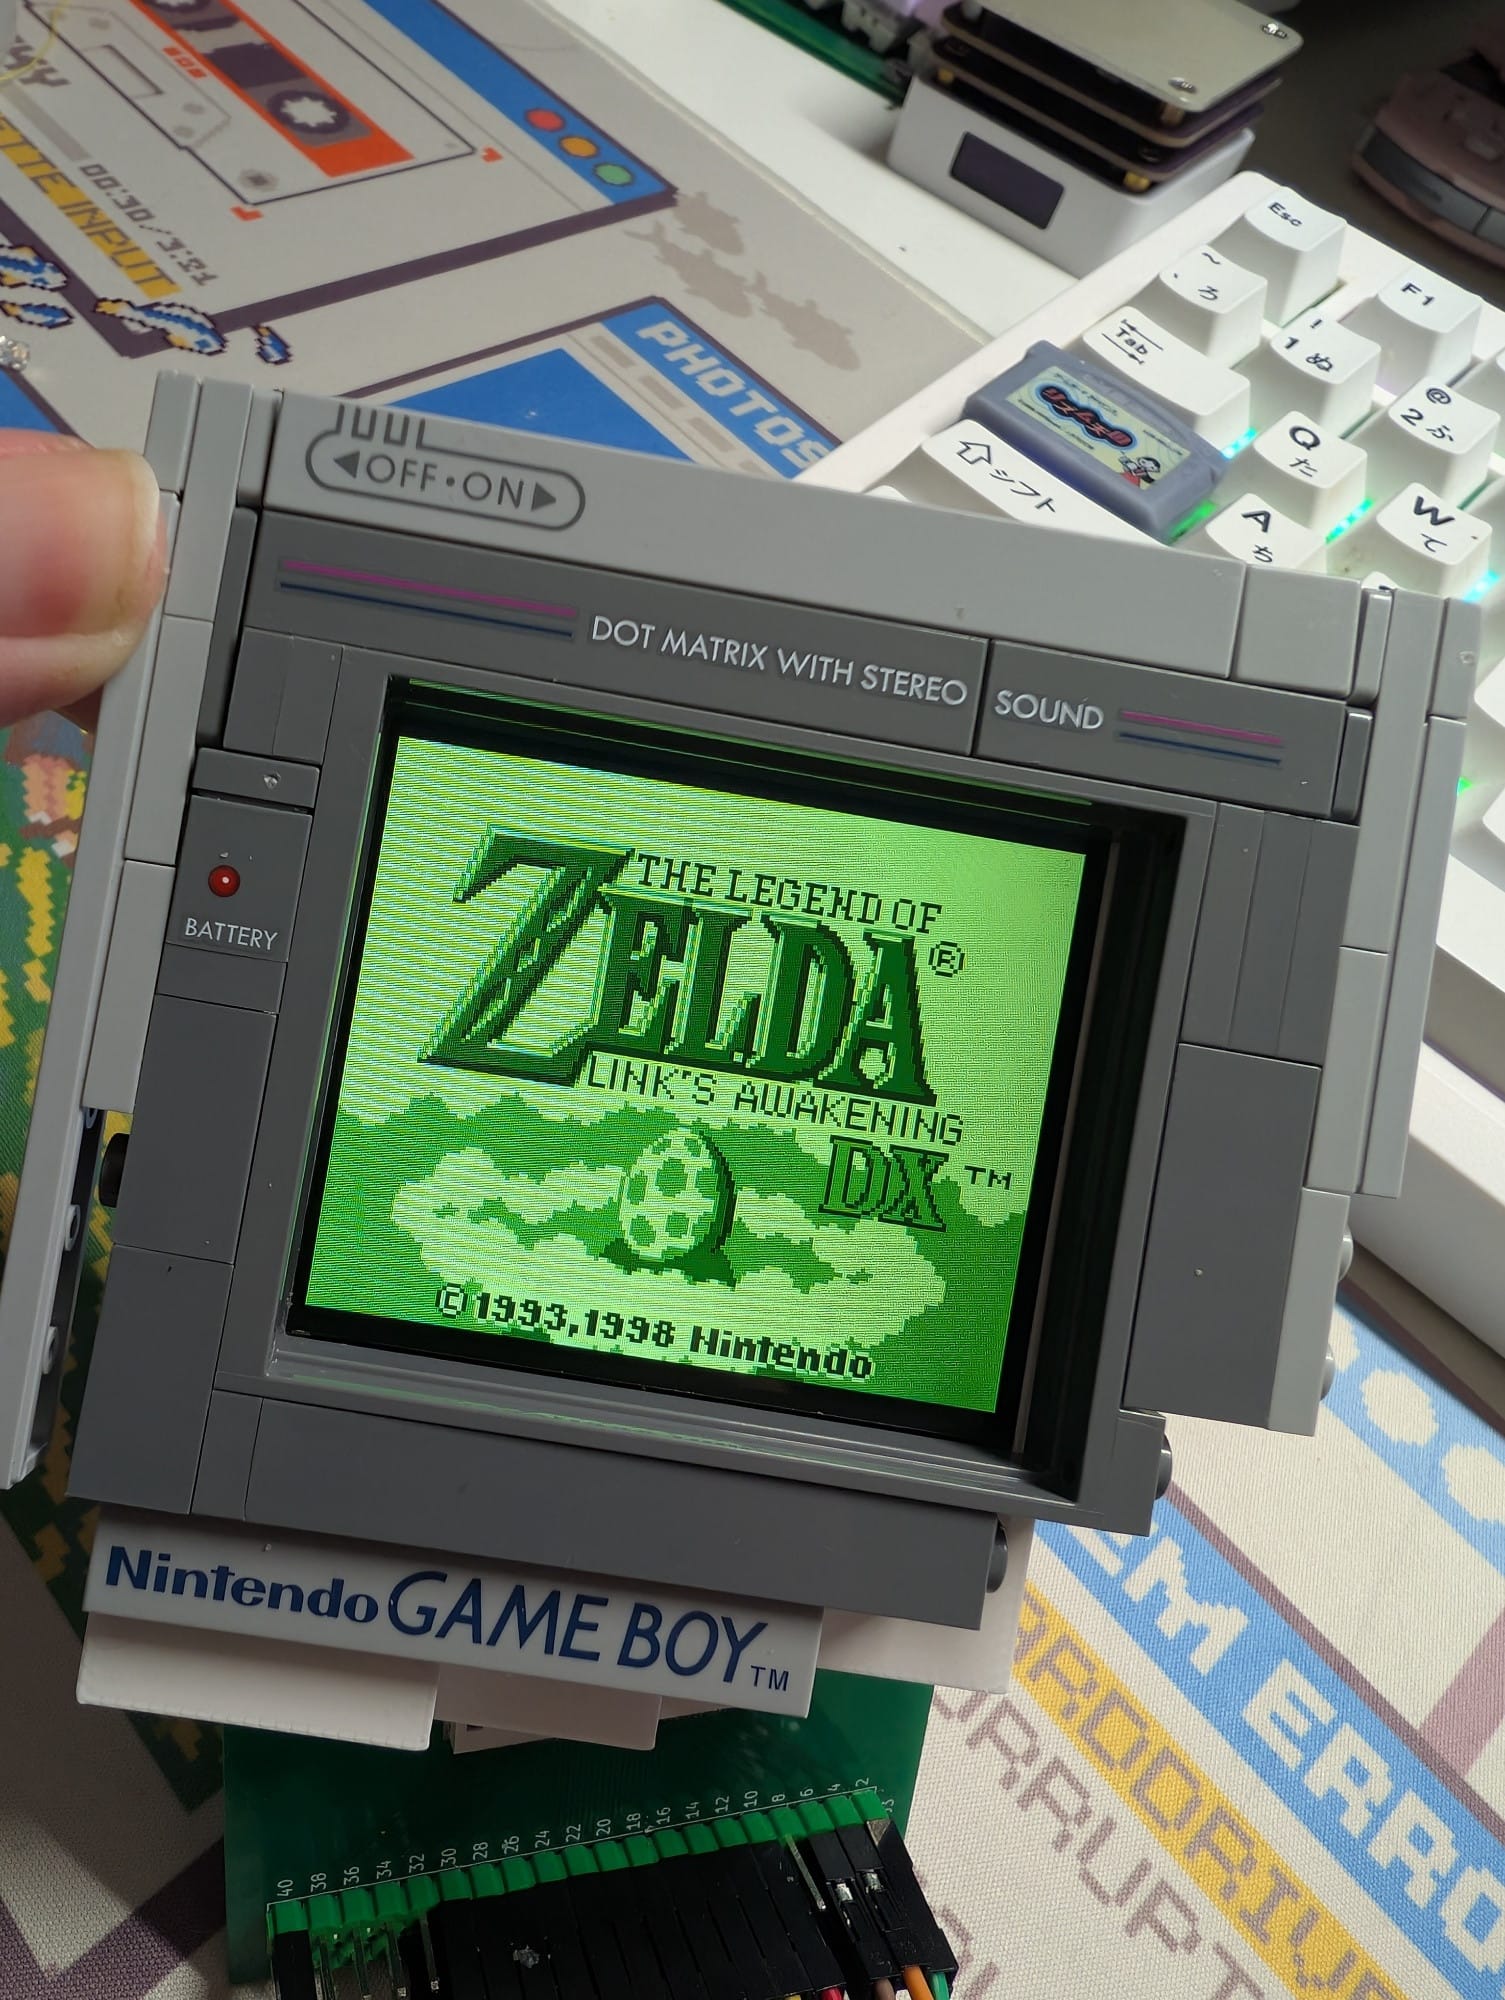
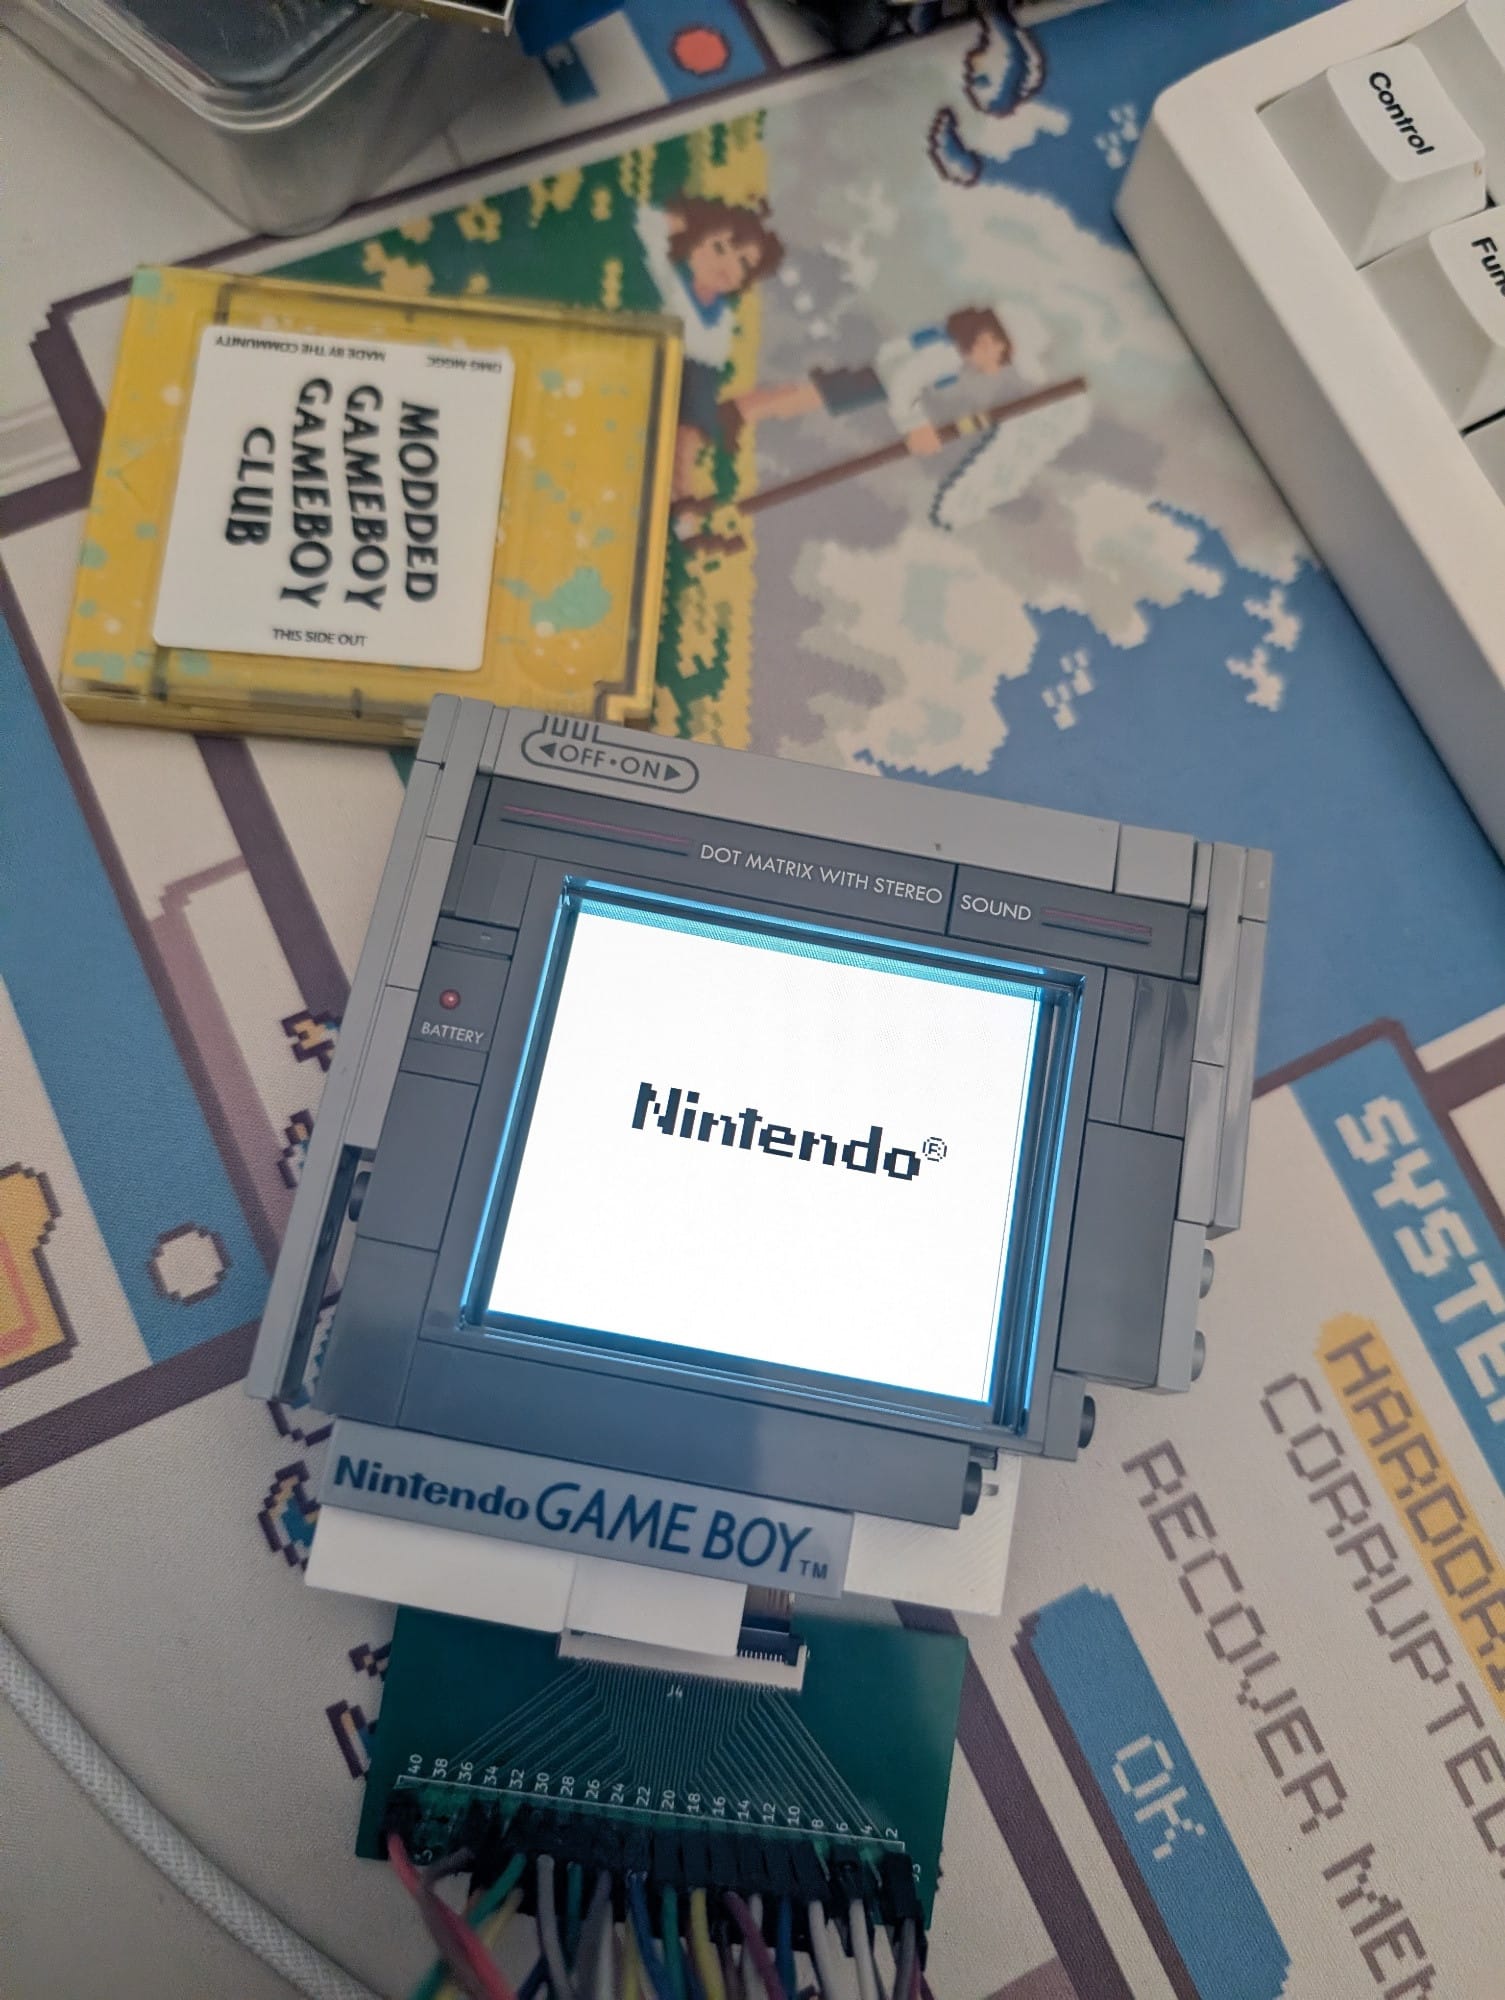
Development of a screen kit for the Game Boy Pocket
I wrote code for my own screen driver, mostly since it will help make the build A LOT cheaper. A modern screen kit is ~$80AUD but since I am making my own it is less than half of that.
The screen I am using is 2.7" 360*360px. That allows for perfect 2x scaled display. No post processing or filters just pure integer scaling. The screen keeps the original 60fps, last time I checked there are only 1-2 frames of input lag which is comparable (and slightly better) than other aftermarket kits. For reference, the Analogue Pocket has 1 frame of input lag.
I was able to test the input lag thanks to the amazing Oranglo's test rom. Oranglo mentions that its not the most accurate test, but it gives a rough idea. Recording the test using 240fps slow motion on my Pixel 8 Pro, the pink LED lighting up indicates a button has been pressed. The screen reacts 1 frame later shifting the display colour and the animation.
I haven't worked on power efficiency yet, but with the screen at full brightness the whole device uses roughly 150-170mA. That means 4.5 hours of playtime with the 800mAh battery I have chosen for the build. I will of course be incorporating my safer charger into the build so it will be safe to play and charge also. I am known to go on rants about LiPo safety, but you can watch my video about my safer charge circuit instead if you want.
The buttons:
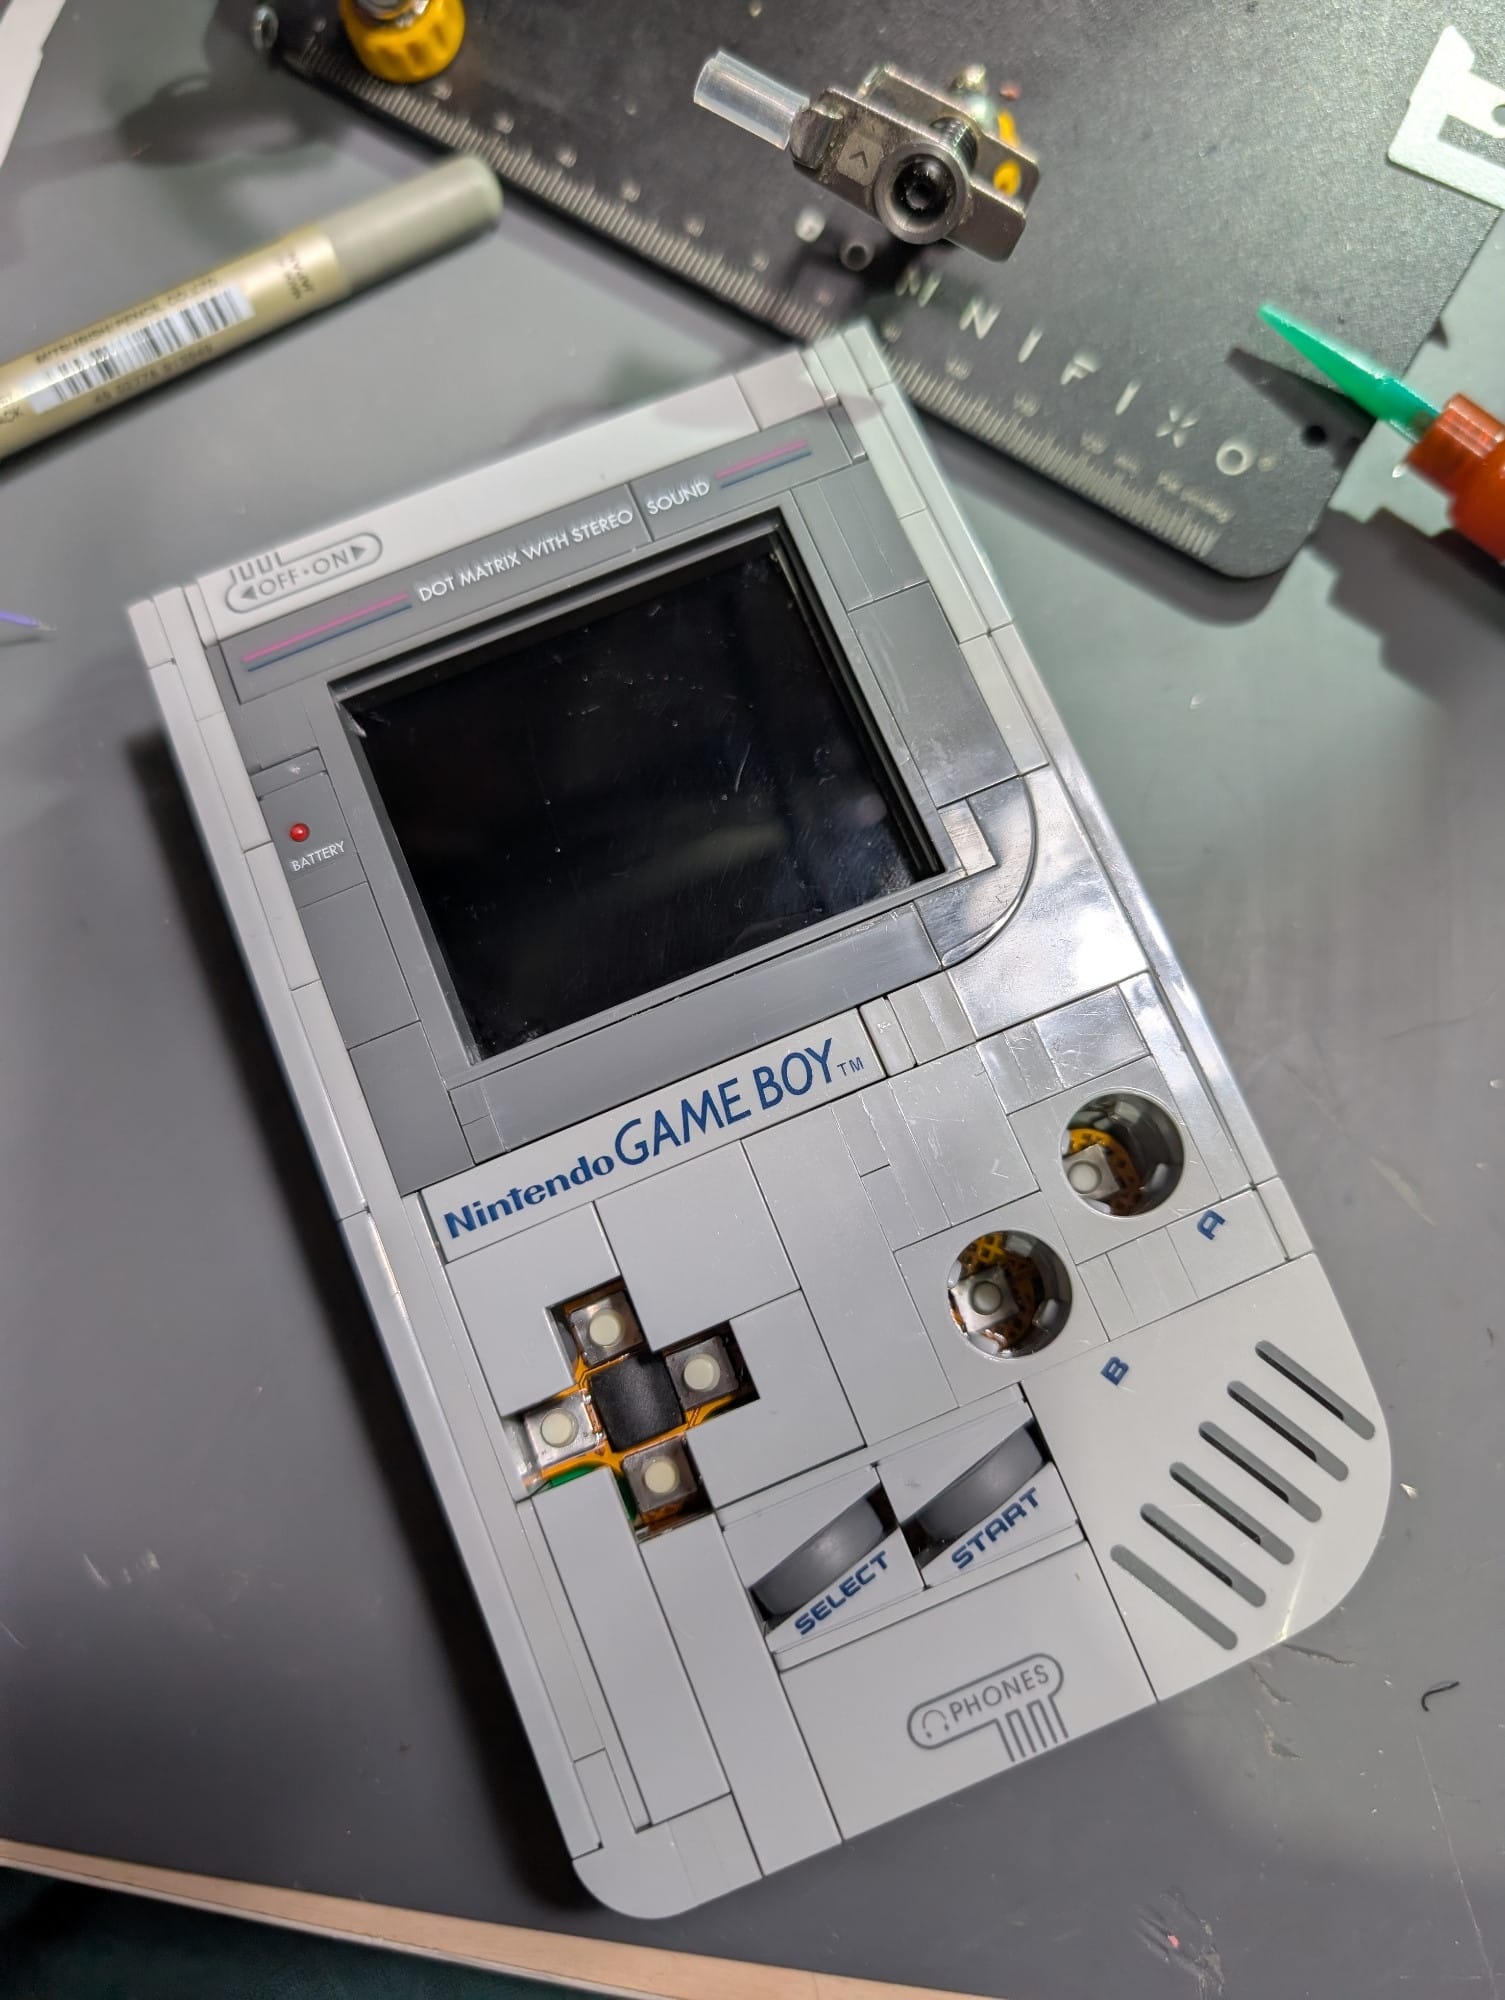
If you have played with the Lego kit, you know the buttons aren't the greatest. I wanted to avoid strain on the Lego by limiting the travel of the buttons (cause they kinda suck). I am using high quality panasonic buttons that have a low gf (grams of force). They also have very nice clicky feedback, a bit like a mouse.
The board:
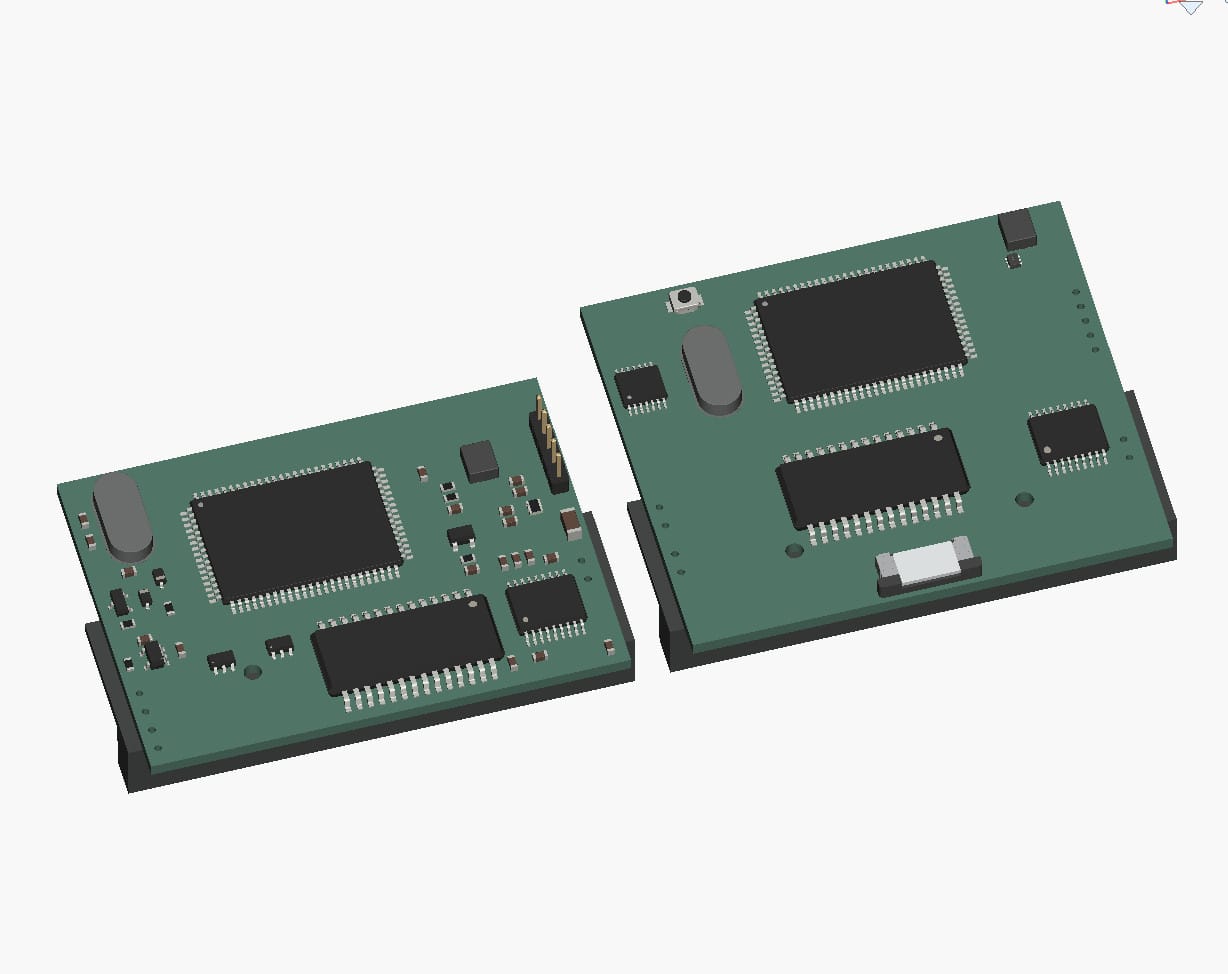
I have made the main pcb even smaller. It is a touch over 40x50mm. I did this to make room for a bigger battery.
I am aiming to have the build ready for pre orders early 2026 but things happen. At the moment I am waiting on my test boards since they were lost in transit!
Comments